How to Make an Origami Boat From It
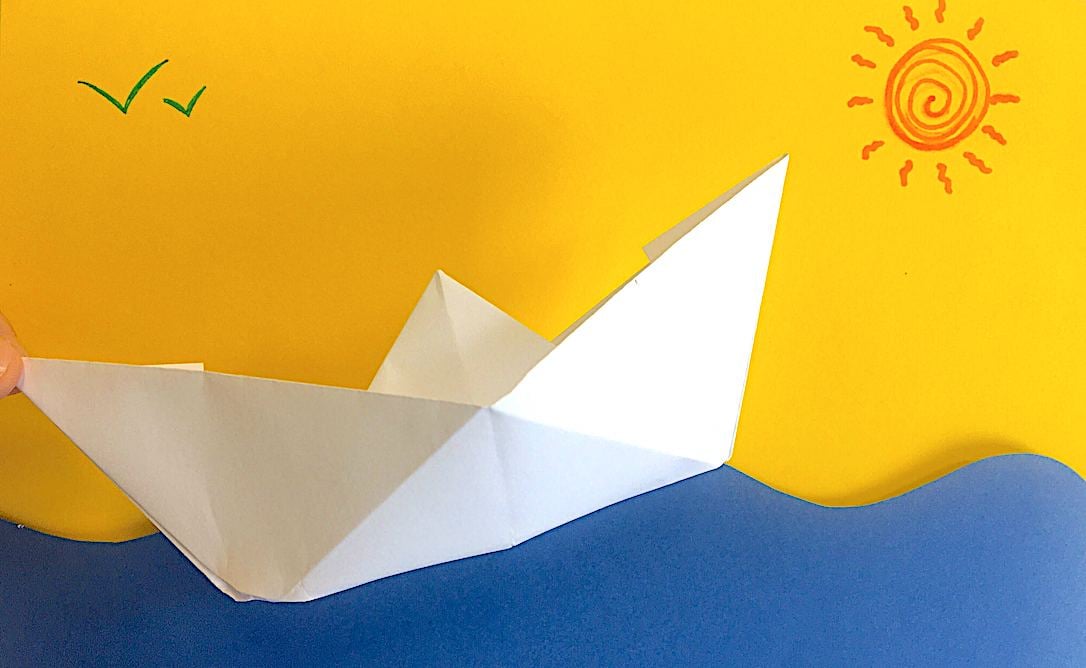
Origami Boat - Make a Paper Boat that actually floats
Follow our step by step instructions to learn how to make an origami boat. Your kids will love to make and sail their paper boat and watch it float in the sink or in the great outdoors!
Paper Boat Folding - Following A Long Tradition
Origami is an ancient art form, it's believed to have been founded about a thousand years ago. Since its conception origami has been made in many different shapes, from many different materials and shared in many different ways. Before paper was invented origami used to be made with leather, damp leaves, or cloth. In modern times origami is mostly made from paper and origami competitions are even televised in Japan!
If your child wants to become an origami pro, creating paper masterpieces on the TV, then they'll need to start with some simple shapes first. One of the most popular origami shapes is the boat. Not only does it look super cute, it also floats! So it's a great learning opportunity to discover why certain materials float (because they are less dense than the water) whilst others don't (because they are more dense than the water).
If you are done with the boat you can try our lovely origami flowers or our cute origami hearts.
Origami is also great for developing children's fine motor skills and following instructions helps to improve their reading and language skills. Origami can be tricky at first, so be sure to remind your child that practise makes perfect! Even if it is difficult to begin with, their efforts will soon produce pretty paper shapes that they can proudly share and sail with friends and family!
50% Off Your First Box! Craft ideas newsletter
Origami Boat Instructions
Making an origami boat is easy, all you need is an A4 sheet of paper and a little bit of patience, you'll be setting sail in no time at all!
How to make a Paper Boat!
You Will Need
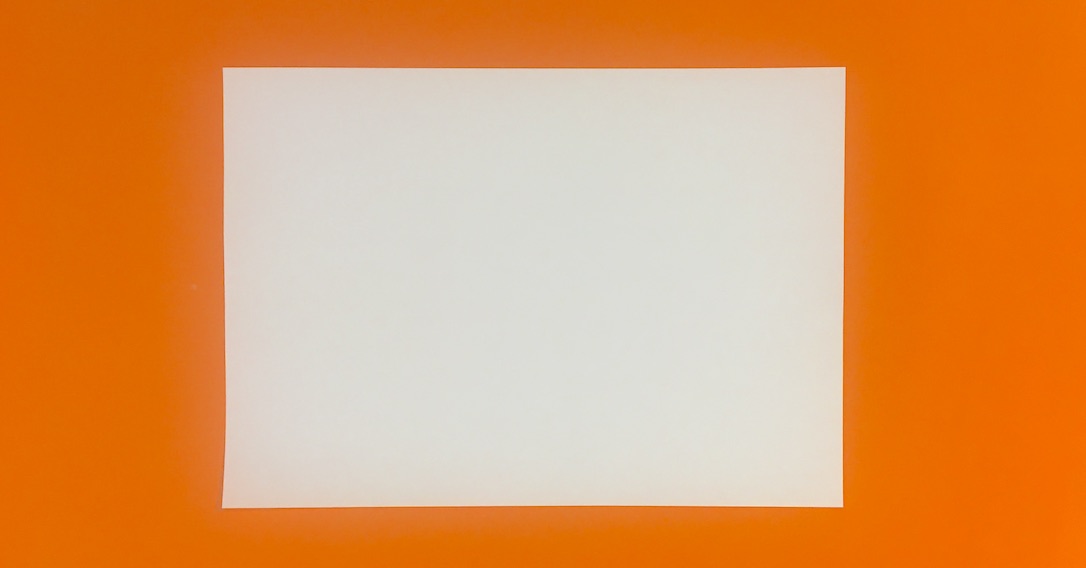
- An A4 piece of paper
Step-by-step Origami Boat:
1 Place the piece of A4 paper in a horizontal position. Fold the bottom edge to the top edge and then unfold.
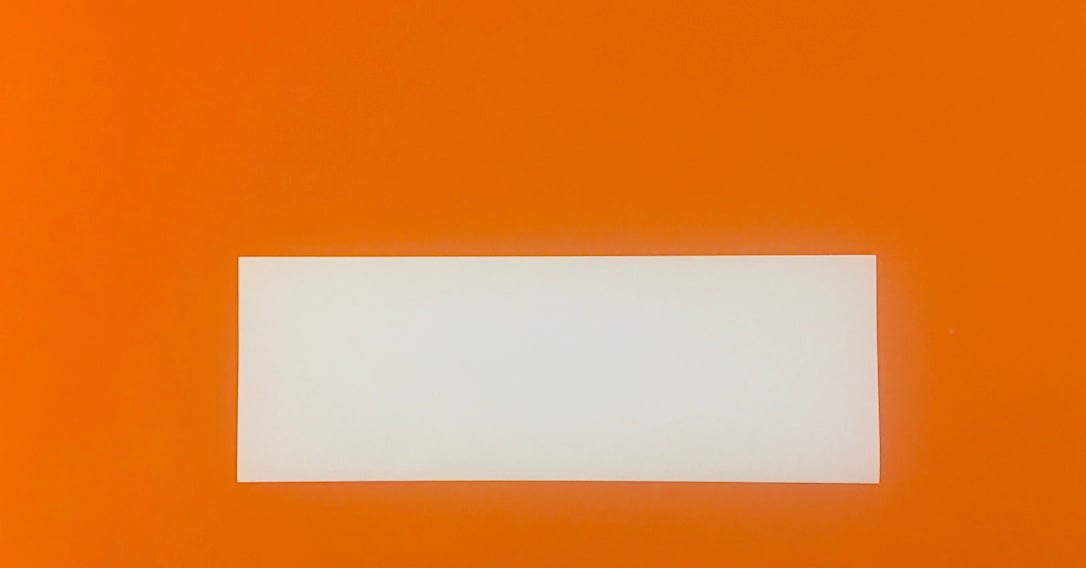
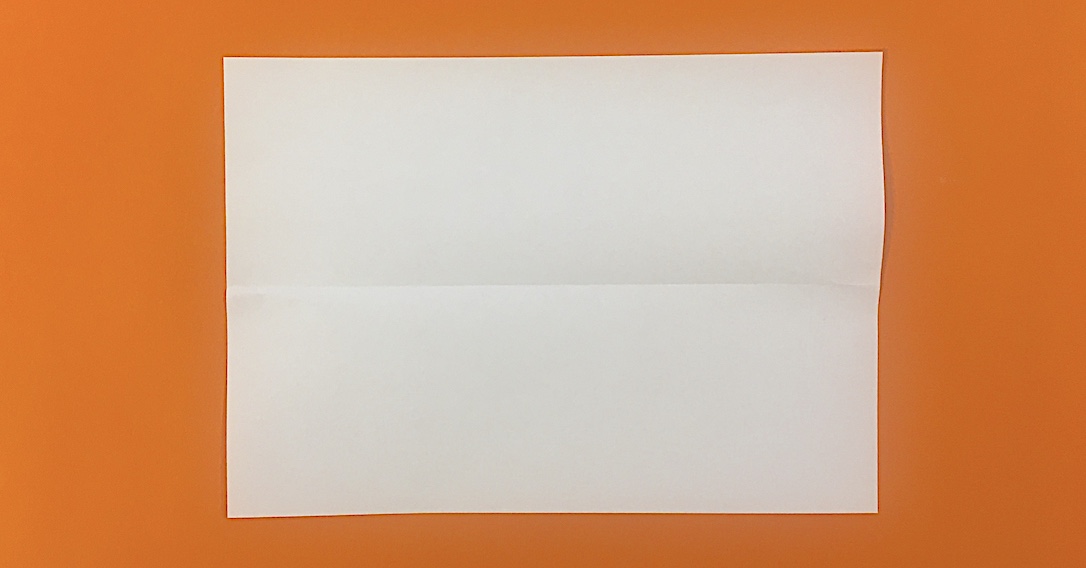
2 Fold the left edge of the paper to the right edge of the paper.
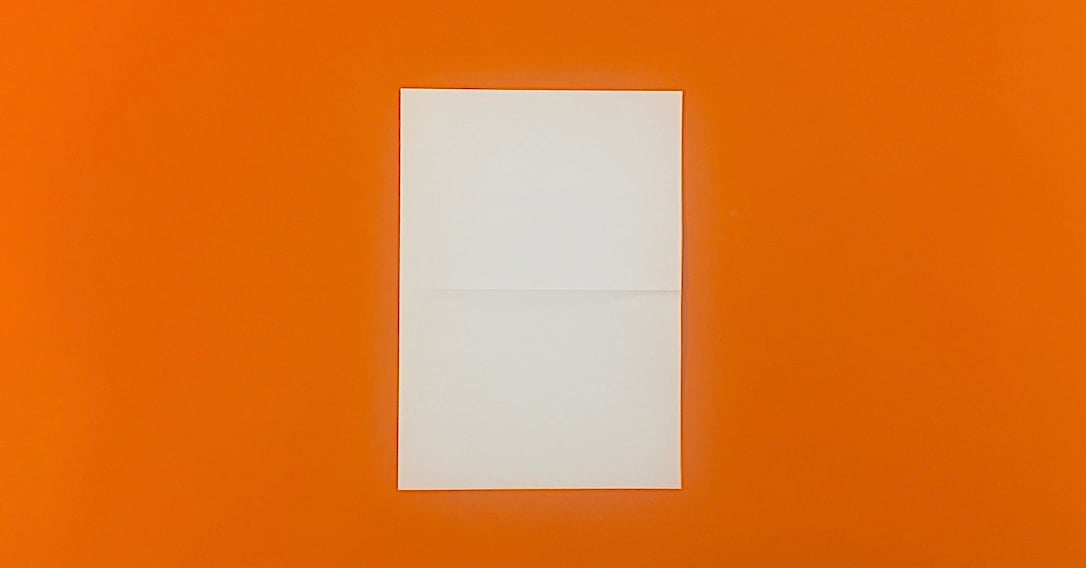
3 Position the paper horizontally, with the open end facing towards you. Fold the top right corner into the centre.
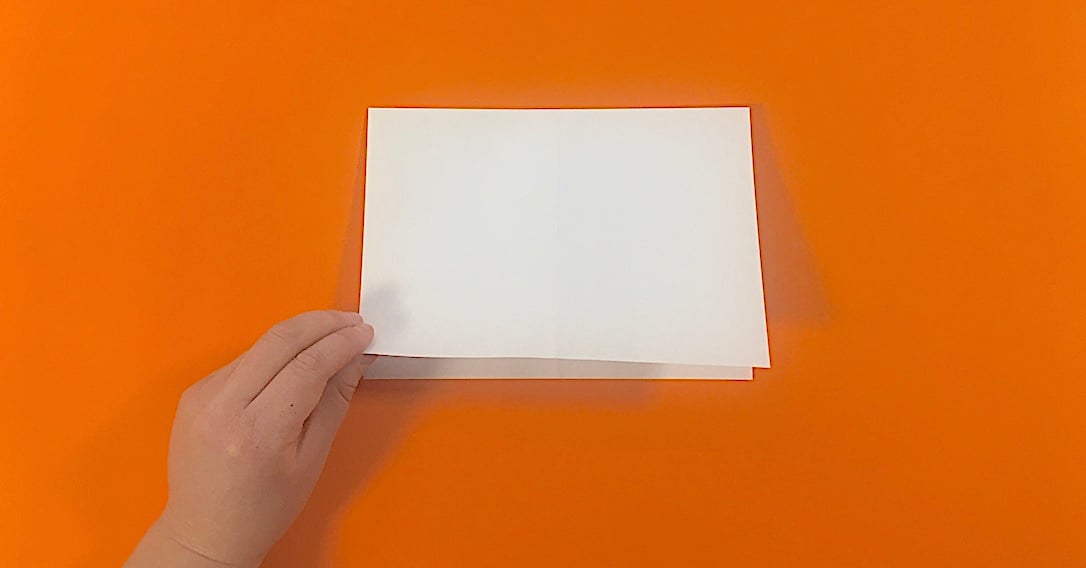
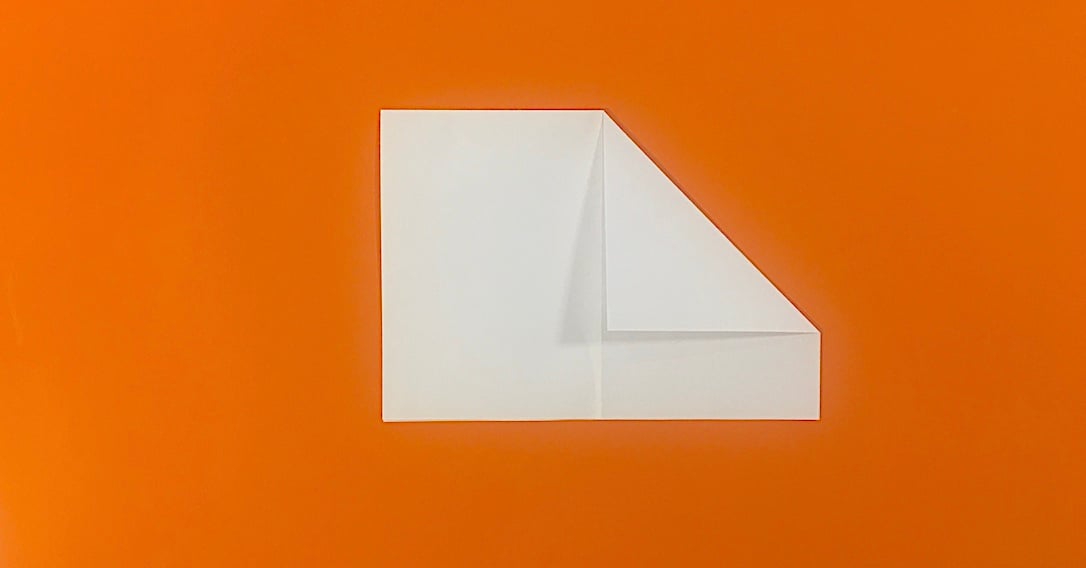
4 Fold the top left corner into the centre.
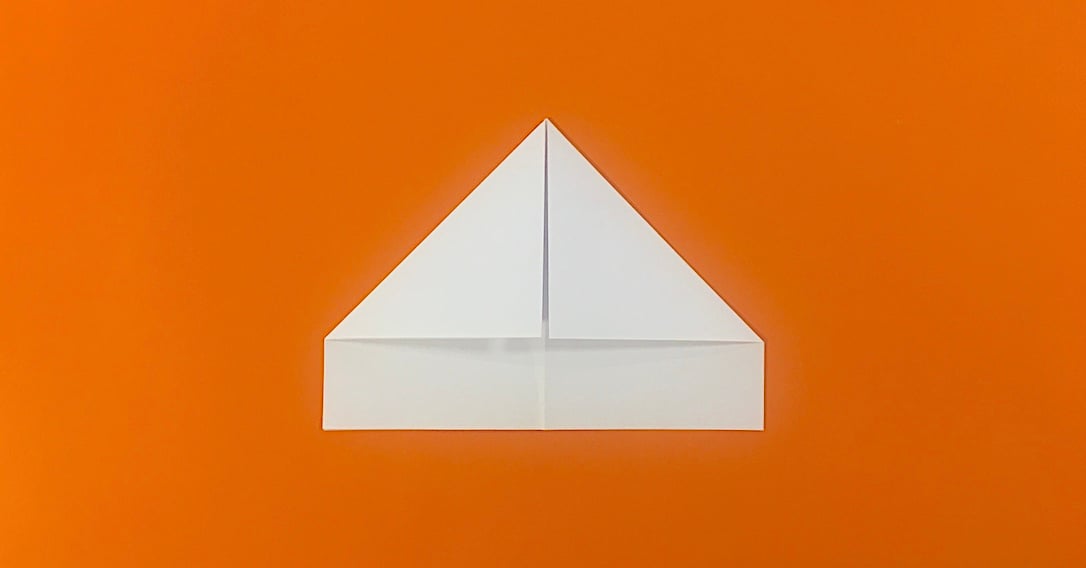
5 Fold the top layer of the bottom rectangle up.
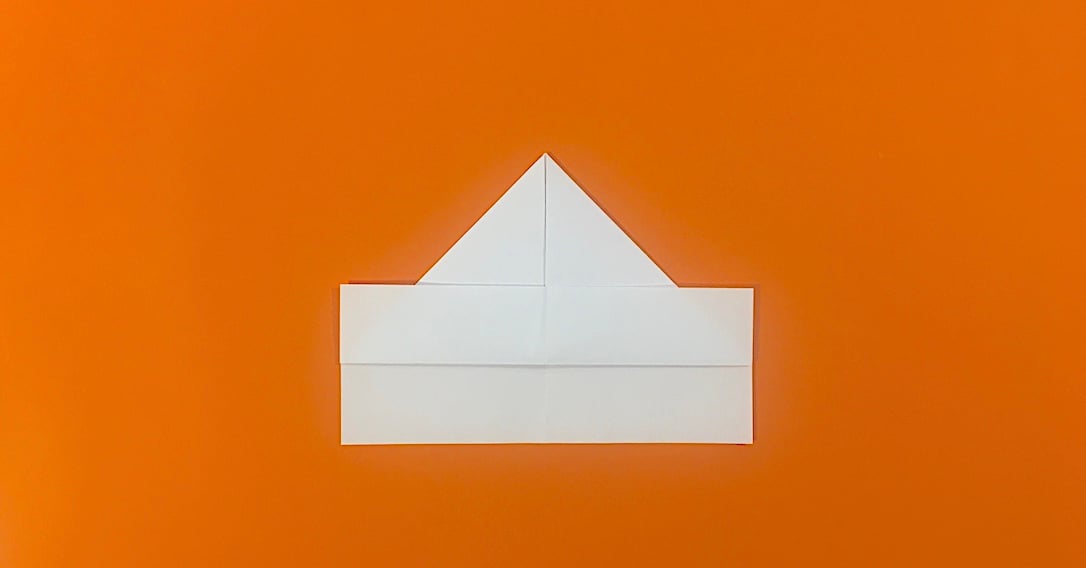
6 Flip your paper over and fold the bottom rectangle up.
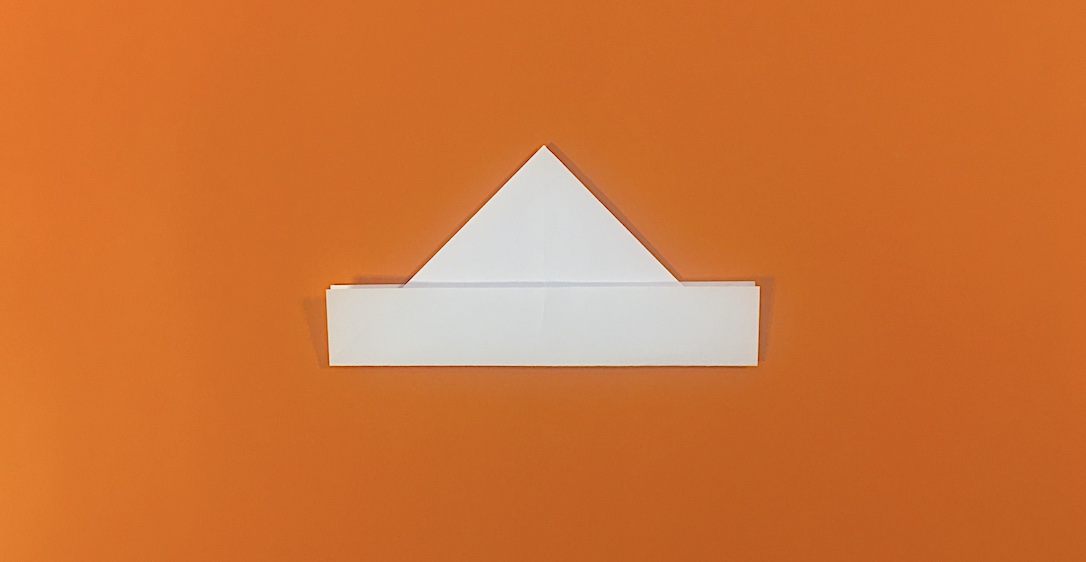
7 Pick up the paper, holding the flat edge and with the pointed end facing down. Push the left and right side together to open the piece of paper into a diamond shape. Continue to push the opposite sides together until they are flat against each other and a diamond shape is made.
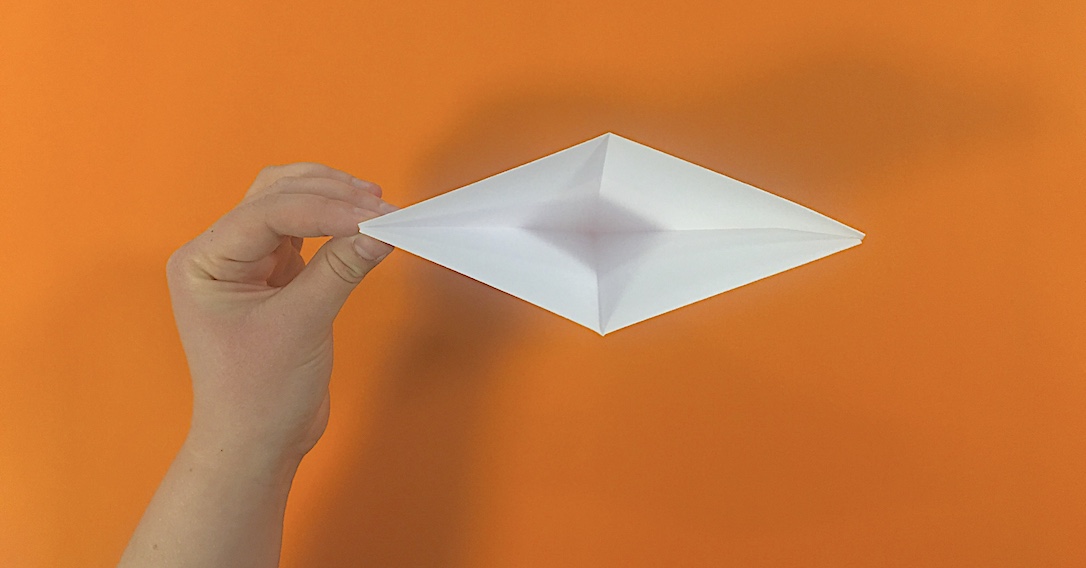
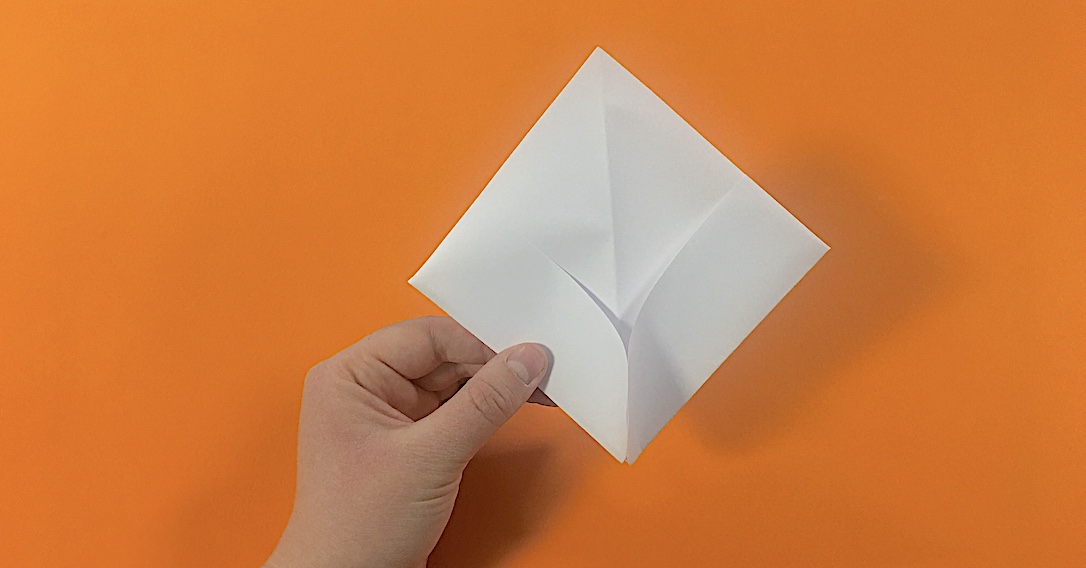
8 Tuck one rectangle beneath the other on both sides of the diamond.
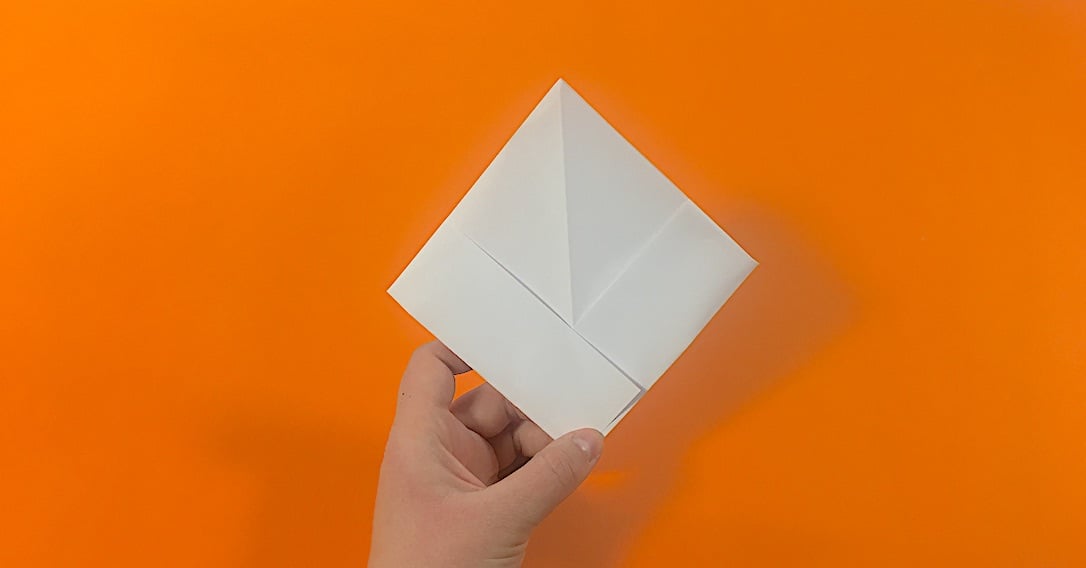
9 Fold the bottom point (with the rectangles you just tucked in) up to the top point on one side.
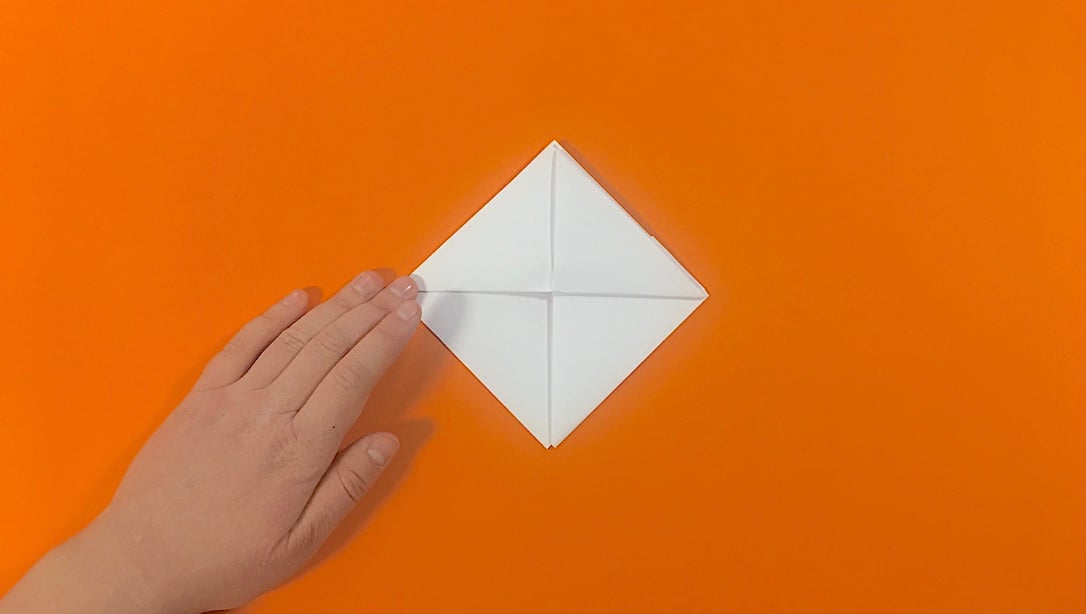
10 Flip the paper over. Fold the bottom point up to the top point.
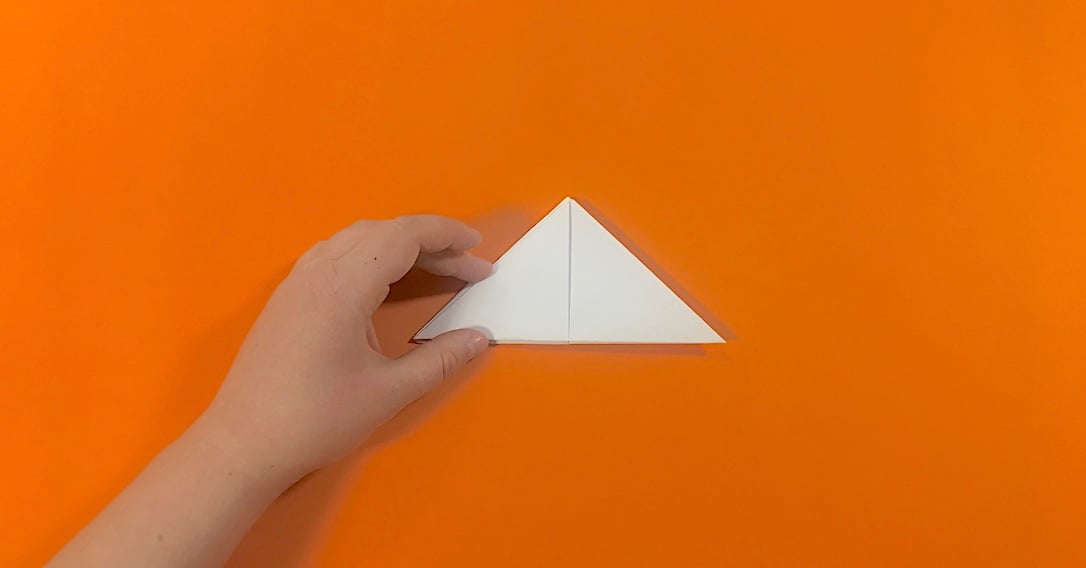
11 Pick up the piece of paper by the flat edge, with the pointed end facing down. Push the left and right ends of the paper together as before, to make a diamond shape. Press flat.
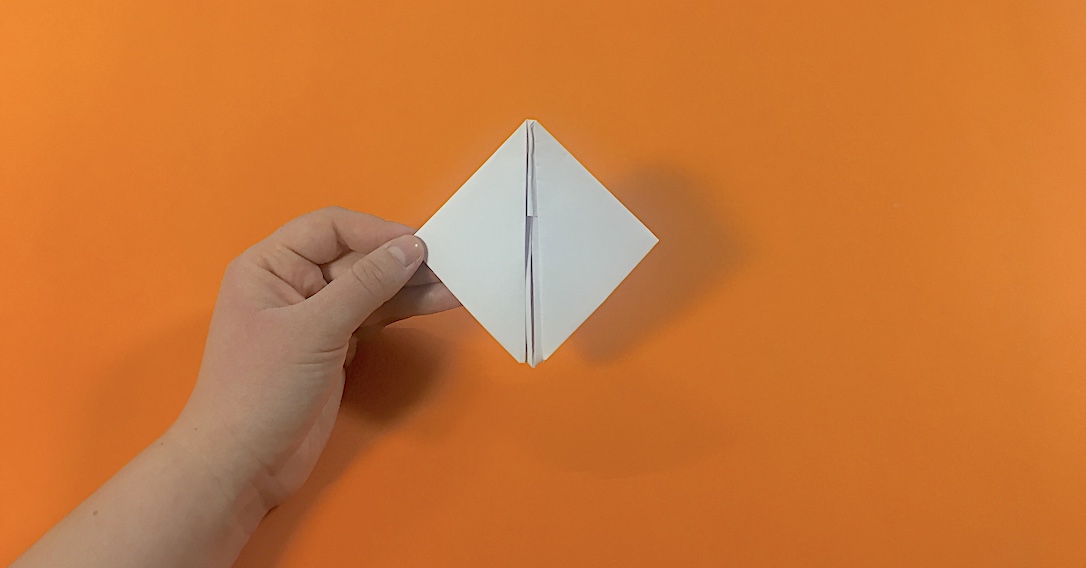
12 Pinch the top two points of the diamond and gently pull them apart. Use your thumb to press along the bottom edge.
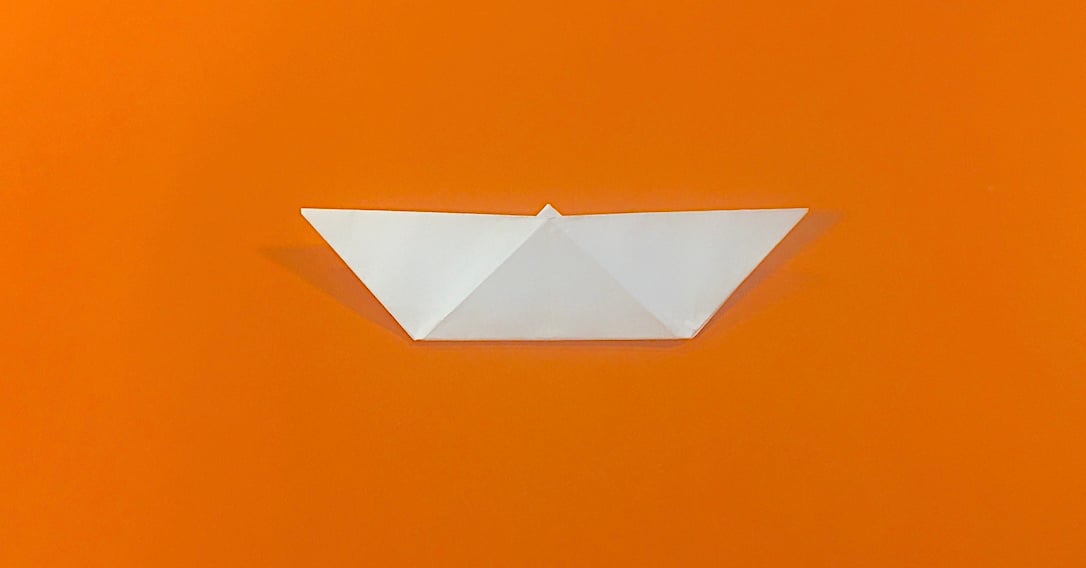
13 Push the opposite end of your boat to give it shape and use your fingers to form a pyramid shape in the middle.
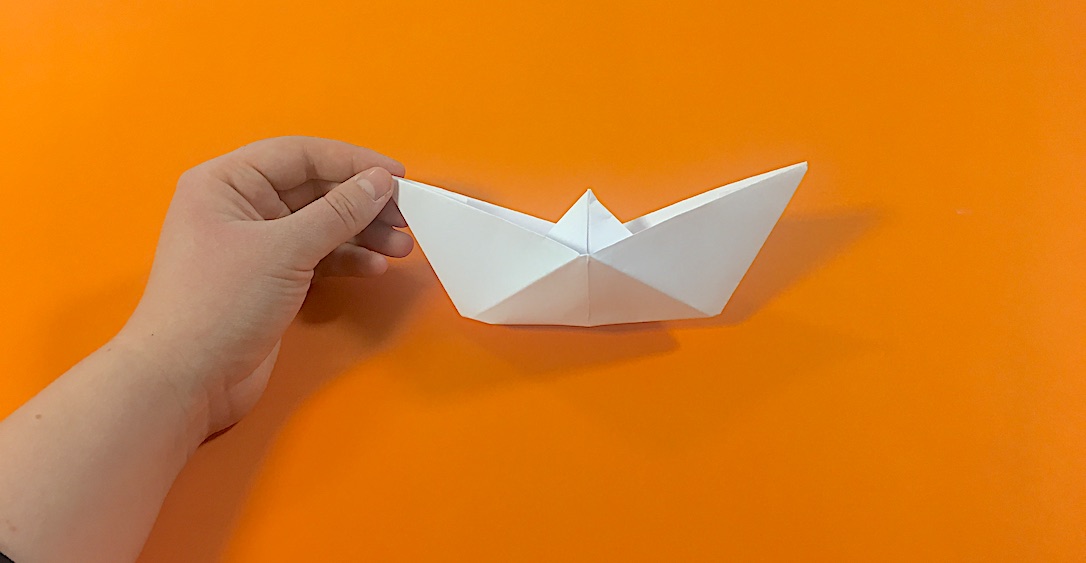
Voilà! Your origami boat is ready to set sail! Take it to the closest pond. A leftover puddle after the next big rain shower works as well.
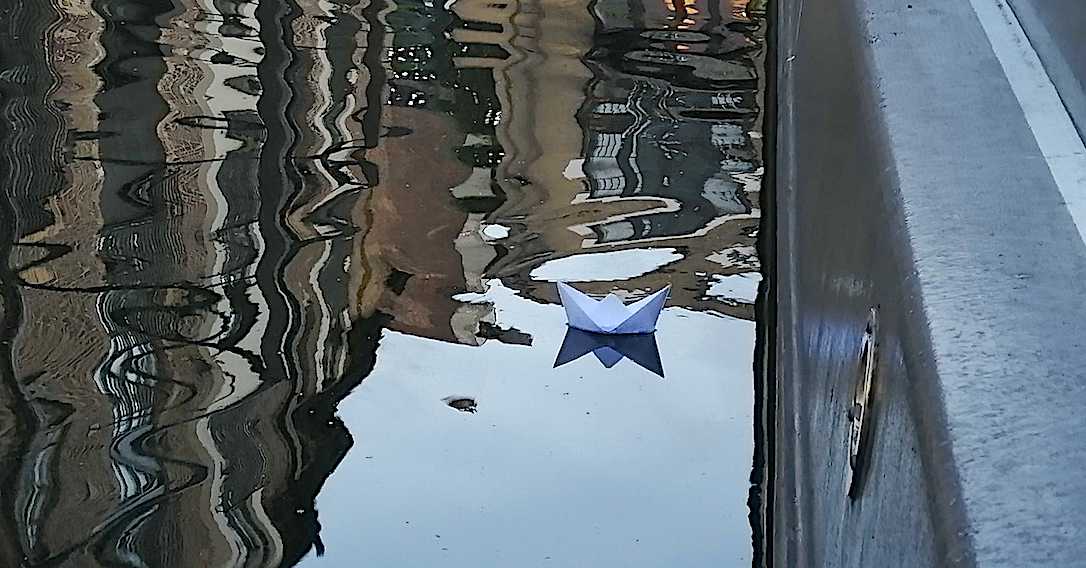
What To Do With Your Finished Origami Ship
Remember, your origami boat can float! So be sure to take it for a sail in the kitchen sink or in the great outdoors. You could even have an origami boat race! Make a few origami boats, pop one in the sink and blow through a straw to move it across the sink. See who can blow their boat across the sink fastest to decide on a winner!
Not tried toucanBox yet?
If these origami boats have inspired you to try more awesome arts and craft activities, then give toucanBox a try! Save 50% on your first toucanBox and pick two awesome crafts to be delivered through your letterbox (plus toucanBox magazine and sticker sheet!) for just £5.95!
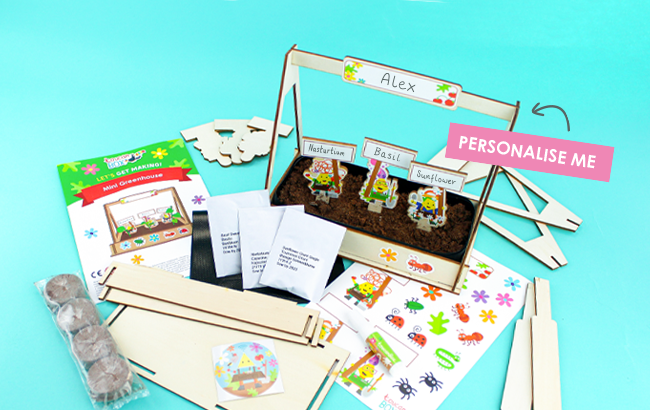
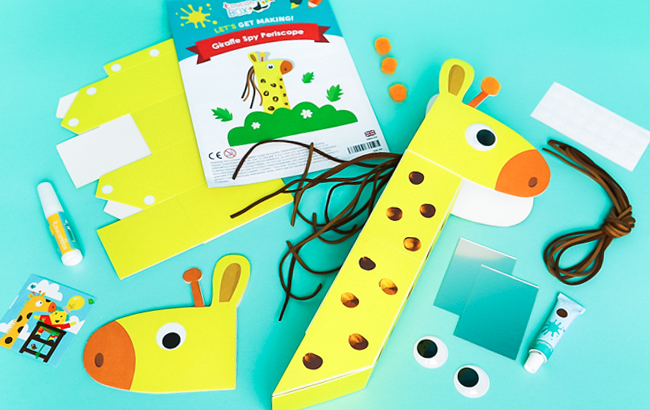
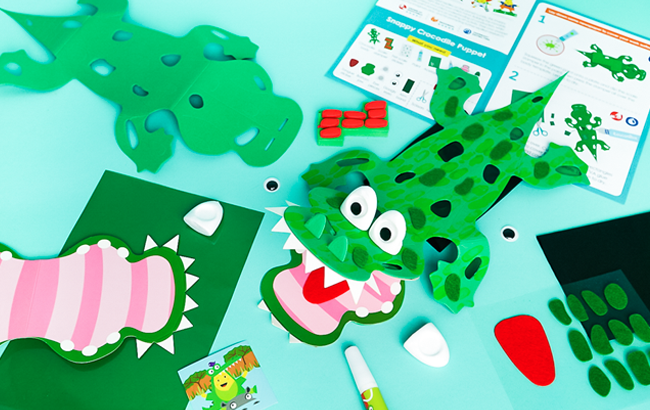
Each toucanBox is also personalised with your child's name, so they will be so excited when something addressed to them personally comes through the letterbox!
Sign up today and save 50% on your first box!
Not ready to commit? Subscribe to our fun-filled weekly newsletter, jam packed with craft ideas, recipes, fun activities and more!
50% Off Your First Box! Craft ideas newsletter
We'd love to see your creations, so why not share them on Facebook, Instagram or Twitter with #toucanBox. Our favourite snaps could feature in the next issue of toucanBox Magazine!

All the materials you need to Explore, laugh, create and play.
toucanBox is a subscription service delivering fun filled activity boxes to your door.
Find out more
How to Make an Origami Boat From It
Source: https://www.toucanbox.com/activities/origami-boat
0 Response to "How to Make an Origami Boat From It"
Post a Comment